Here is the fastest and most durable method for installing Ride Studio Cafe’s custom reflective decals onto rims or any bike part.
The Studio’s decals are unusual and require instructions. Here are the steps:

Step One: Clean the area with rubbing alcohol or Acetone. If the surface isn’t really clean, the decals will not stick well.

Step Two: Cutout each decal so that each is separate from the others. It’s a lot simpler to install them when they are as small as possible.

Step Three: Peel the white backing sheet off the decal. Make sure the translucent top sheet stays with the decal. Keep the white backing for decal buffing in step 12.
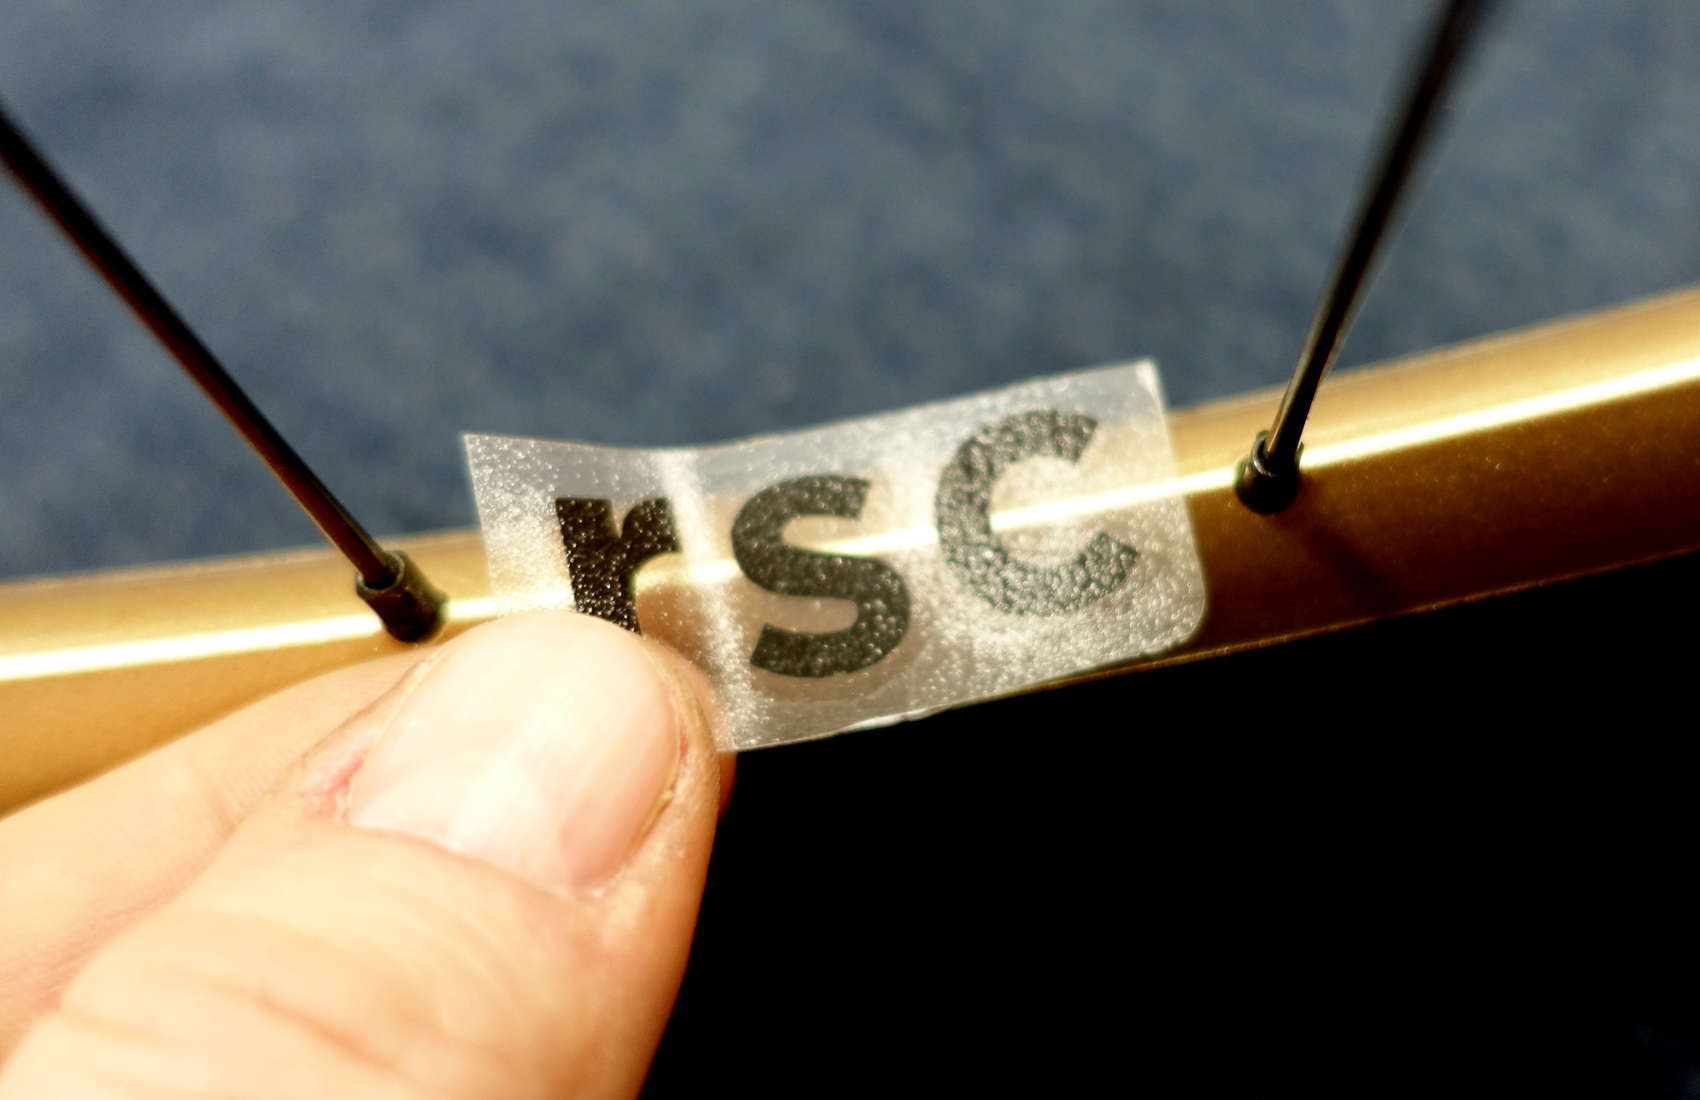
Step Four: Make sure your fingers do not tough the decal – handle only the clear top sheet. Lightly place the decal onto the bike part. The decal is sticky but will allow you to adjust the alignment of the decal. Ensure that you are aligning the bike part to the actual decal edges, not to the translucent top sheet; because you cut the sheet with scissors it is unlikely to be square and true to the decal.

Step Five: Begin sticking the decal to the part. Start pressure from the center of the decal and work your way toward the outer edge of the decal. This method ensures no bubbles or wrinkles will exist in the decal. Check the decal alignment as you apply pressure; at this point the decal can slide and be re-adjusted easily.

Step Six: Apply pressure to the decal from the center, working outward toward the edges.

Step Seven: Fold the decal carefully over any corners. The Decals are very flexible but the translucent top sheet is fairly stiff and does not like to contour.

Step Eight: Once the decal has adhered to the part, use your fingernail to apply a lot of pressure to every part of the decal. This is an important step. If you don’t apply enough pressure to the decal now, it will peel apart when you remove the translucent top sheet.

Step Nine: Begin removing the translucent top sheet. This is the most difficult part of the process because the decal’s corners, and small details, want to stay stuck to the translucent top sheet. In order to minimize this issue, start peeling the top sheet by folding a corner back as tightly as possible; in other words, pull the top sheet corner along the surface – horizontally to the surface – of the bike part. have the fold be as tight as possible. Peel slowly. If the decal starts to peel away with the top sheet, push the folded edge of the sheet back down so the decal is on the part’s surface. Reapply fingernail pressure to get the decal to stick to the part rather than the top sheet. Work slowly.

Step Ten: Repeat the top sheet folding technique at each corner of the decal. Work slowly.

Step Eleven: The trialing edges of the decal like to peel away with the translucent top sheet. In order to avoid this challenge, make sure you peel away the top sheet while slowly pulling horizontally to the part’s surface.

Step Twelve: Once you have removed the translucent top sheet from the decal, the difficult part of decal application is complete. The last step is to buff the decal to ensure it is well adhered to the bike part. Buff the decal with the white decal backing sheet you removed earlier. Be careful not to catch any edge of the decal under the edge of the white sheet. Use firm pressure.

Step Infinity: Ride. The decals become more durable as they weather. You can clean the decals with any cleaner you would normally use to clean your bike.
That’s it. So simple…
{ 0 comments… add one now }
You must log in to post a comment.